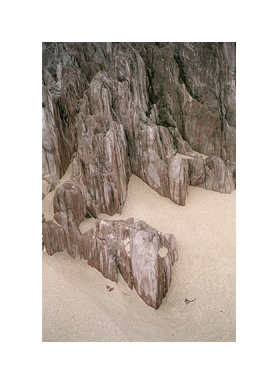
Bigbury Rock II
previous picture
|
Gallery 9 overview
|
next picture