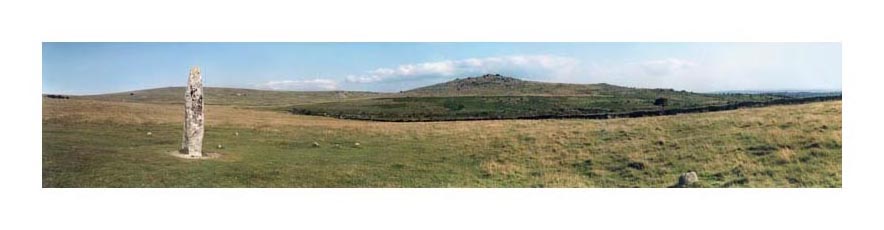
Merrivale Menhir
Gallery 3 overview
|
next picture