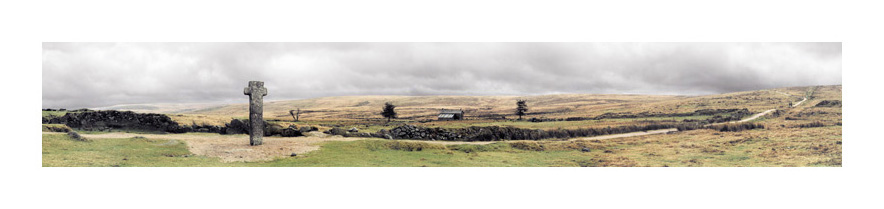
Nun's Cross
Gallery 2 overview
|
next picture